Moving to a Static Website, part 3: Automated deployment with Wercker
Posted onThis is the third part of a four-part blog post covering my move from WordPress to Hugo, a static website generator. This post outlines how you can use Wercker to streamline your Hugo deployment pipeline to Amazon S3.
If you haven’t read the first two parts, you may find them at Moving to a Static Website, part 1: From WordPress to Hugo and Moving to a Static Website, part 2: Hosting.
Prerequisites
You have created a free account at Wercker.
You have the code of your Hugo site hosted at GitHub.
You have cloned a repository that contains a Hugo site locally.
You have an Amazon S3 bucket that will serve your website.
Git repository
We don’t want the public directory version controlled, as we will use Wercker to generate that later on. Therefore, you should add a .gitignore file that will exclude this using the following command:
$ echo "/public" >> .gitignore
For the build to work properly with Wercker you need to have the full content of your theme folder on GitHub. Remove the external git configuration from it (.git folder), otherwise it will be considered as a submodule and the content will not be added to GitHub.
Connect Wercker to GitHub
After you are registered at Wercker, you will need to link your GitHub account to Wercker.
You do this by going to your profile settings, and then Git connections.
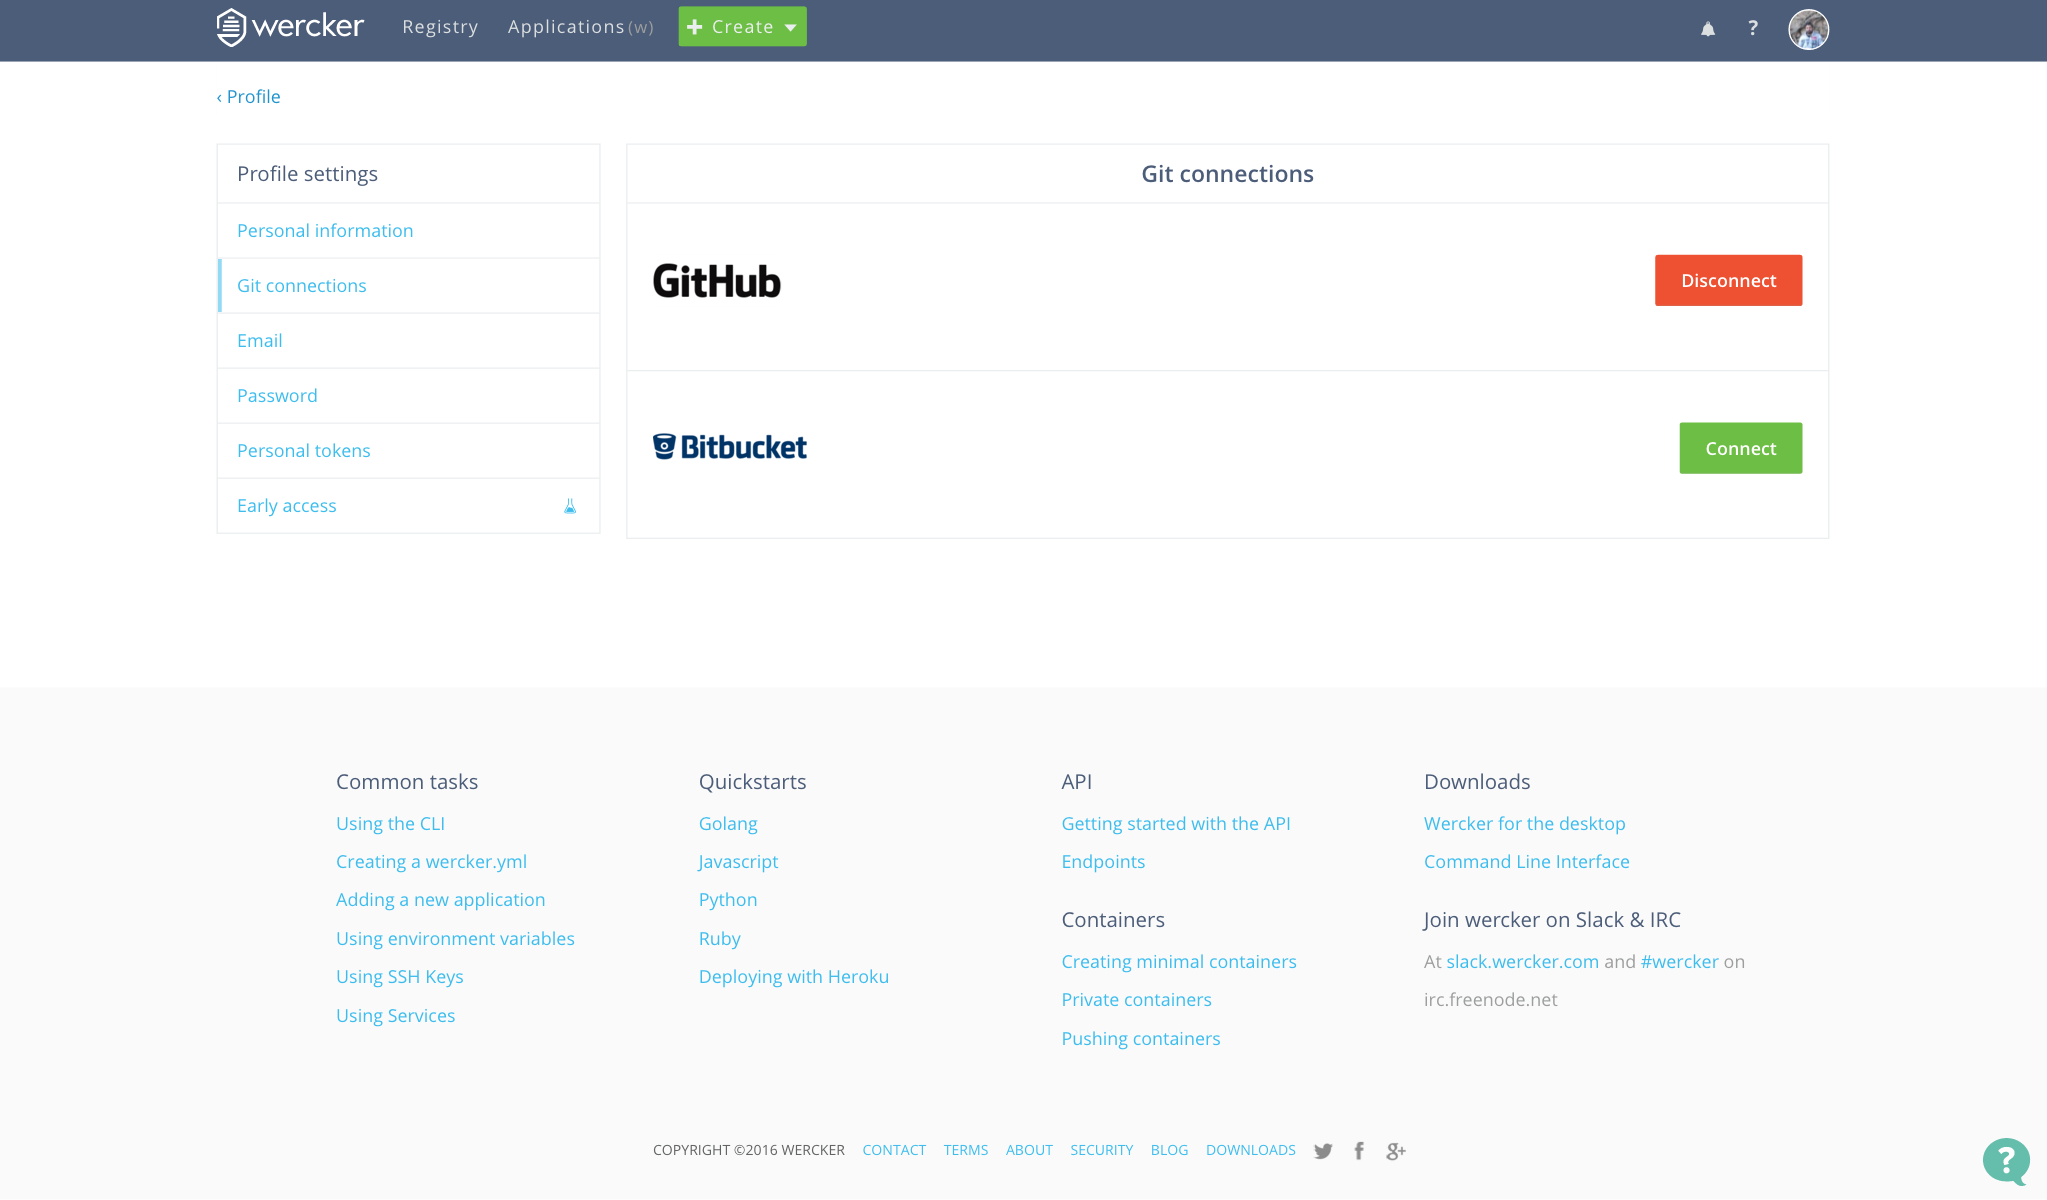
Wercker GitHub connect
Create an application
Now that we’ve got all the preliminaries out of the way, it’s time to set up the application.
Click on the + Create button in the top menu, and:
Choose to use GitHub as the Git provider.
Choose a repository.
Configure Wercker access to the repository.

Wercker new application example
Add Amazon S3 deploy target
We now need to specify a custom deploy target on Wercker that we will use to setup the details for Amazon S3. Go to the settings tab for your application and under the section Targets click add Add deploy target and choose custom deploy.
Here you can fill in the name for your deploy target and, if you prefer, select the auto deploy option that allows you to automatically deploy specific branches.
Next you want to add the following environment variables that the build pipeline must leverage to sync your app with Amazon S3:
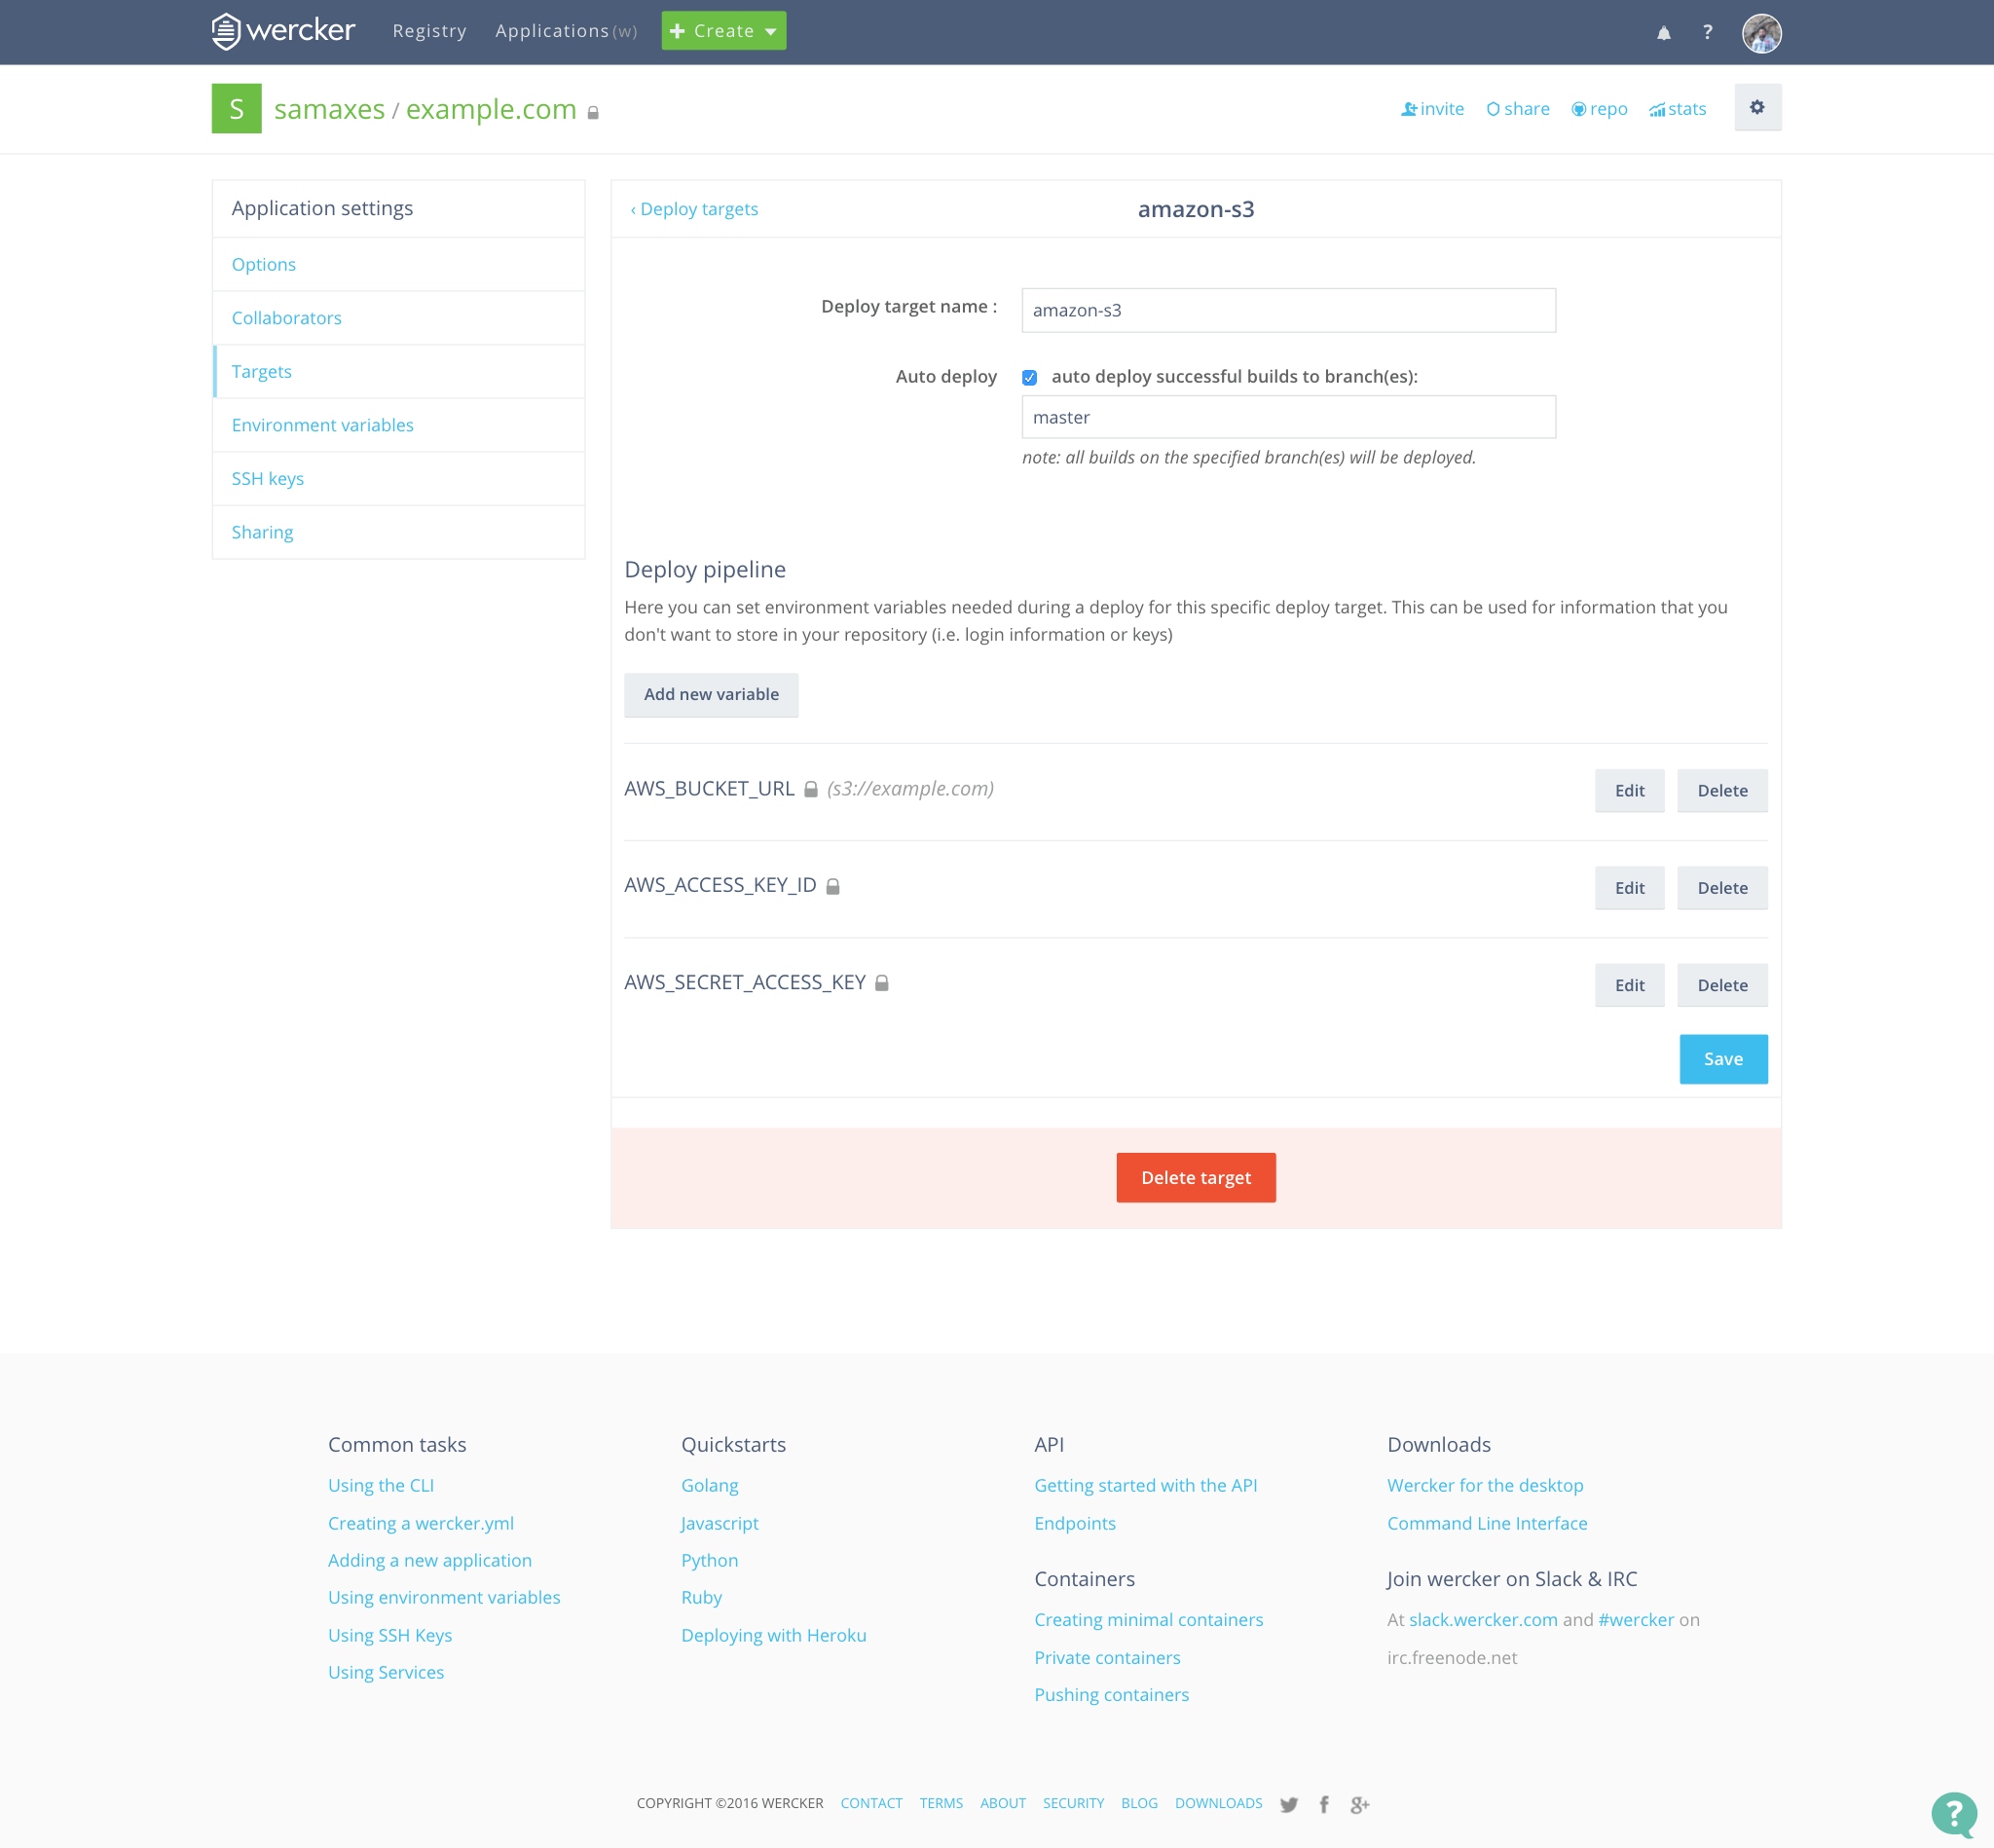
Wercker deploy target example
Here you enter the details of your Amazon S3 bucket. The key and secret key can be found in the AWS security credentials page. The URL for the key bucket-url should be in the format s3://example.com.
Create wercker.yml
Now it is time to define your build process. This is the pipeline that is run each time changes are pushed to the Git repository.
Create a new file called wercker.yml in the root of your repository with the following content:
# This references a standard debian container from the
# Docker Hub https://registry.hub.docker.com/_/debian/
# Read more about containers on our dev center
# http://devcenter.wercker.com/docs/containers/index.html
box: debian

# You can also use services such as databases. Read more on our dev center:
# http://devcenter.wercker.com/docs/services/index.html
# services:
  # - postgres
  # http://devcenter.wercker.com/docs/services/postgresql.html

  # - mongodb
  # http://devcenter.wercker.com/docs/services/mongodb.html

# This is the build pipeline. Pipelines are the core of wercker
# Read more about pipelines on our dev center
# http://devcenter.wercker.com/docs/pipelines/index.html
build:
  # Steps make up the actions in your pipeline
  # Read more about steps on our dev center:
  # http://devcenter.wercker.com/docs/steps/index.html
  steps:
    # Build Hugo site
    - arjen/hugo-build:
        version: "0.15"
        theme: hugo-minimalist-theme
        config: config.yaml
        disable_pygments: true

deploy:
  steps:
    # Deploy site to Amazon S3
    - wercker/s3sync:
        key-id: $AWS_ACCESS_KEY_ID
        key-secret: $AWS_SECRET_ACCESS_KEY
        bucket-url: $AWS_BUCKET_URL
        source_dir: public/
        delete-removed: true
        opts: --acl-public --add-header=Cache-Control:max-age=2592000
Before you push the file wercker.yml to GitHub, make sure it validates on wercker.yml validator.
Note: If you get the message “Box debian does not exist in de the registry”, change the box value to wercker/default and try again (make sure you revert it back to debian before you commit it).
The s3sync step synchronises a source directory with an Amazon S3 bucket. The key_id, key_secret and bucket_url options are set to the information from the deploy target, previously created on Wercker. Only the source option is hard configured to public/ folder. This is the default folder with the output from the hugo command, which is executed in the build phase.
After you’ve created the wercker.yml add it to your repository by executing the following commands in your terminal:
$ git add wercker.yml
$ git commit -m "Add wercker.yml"
$ git push origin master
This automatically triggers a new build on Wercker as you can see below:

Wercker build example
If everything went well it should automatically start a new deploy to the S3 bucket that you have defined previously as the deploy target (if you did activate the auto deploy option):
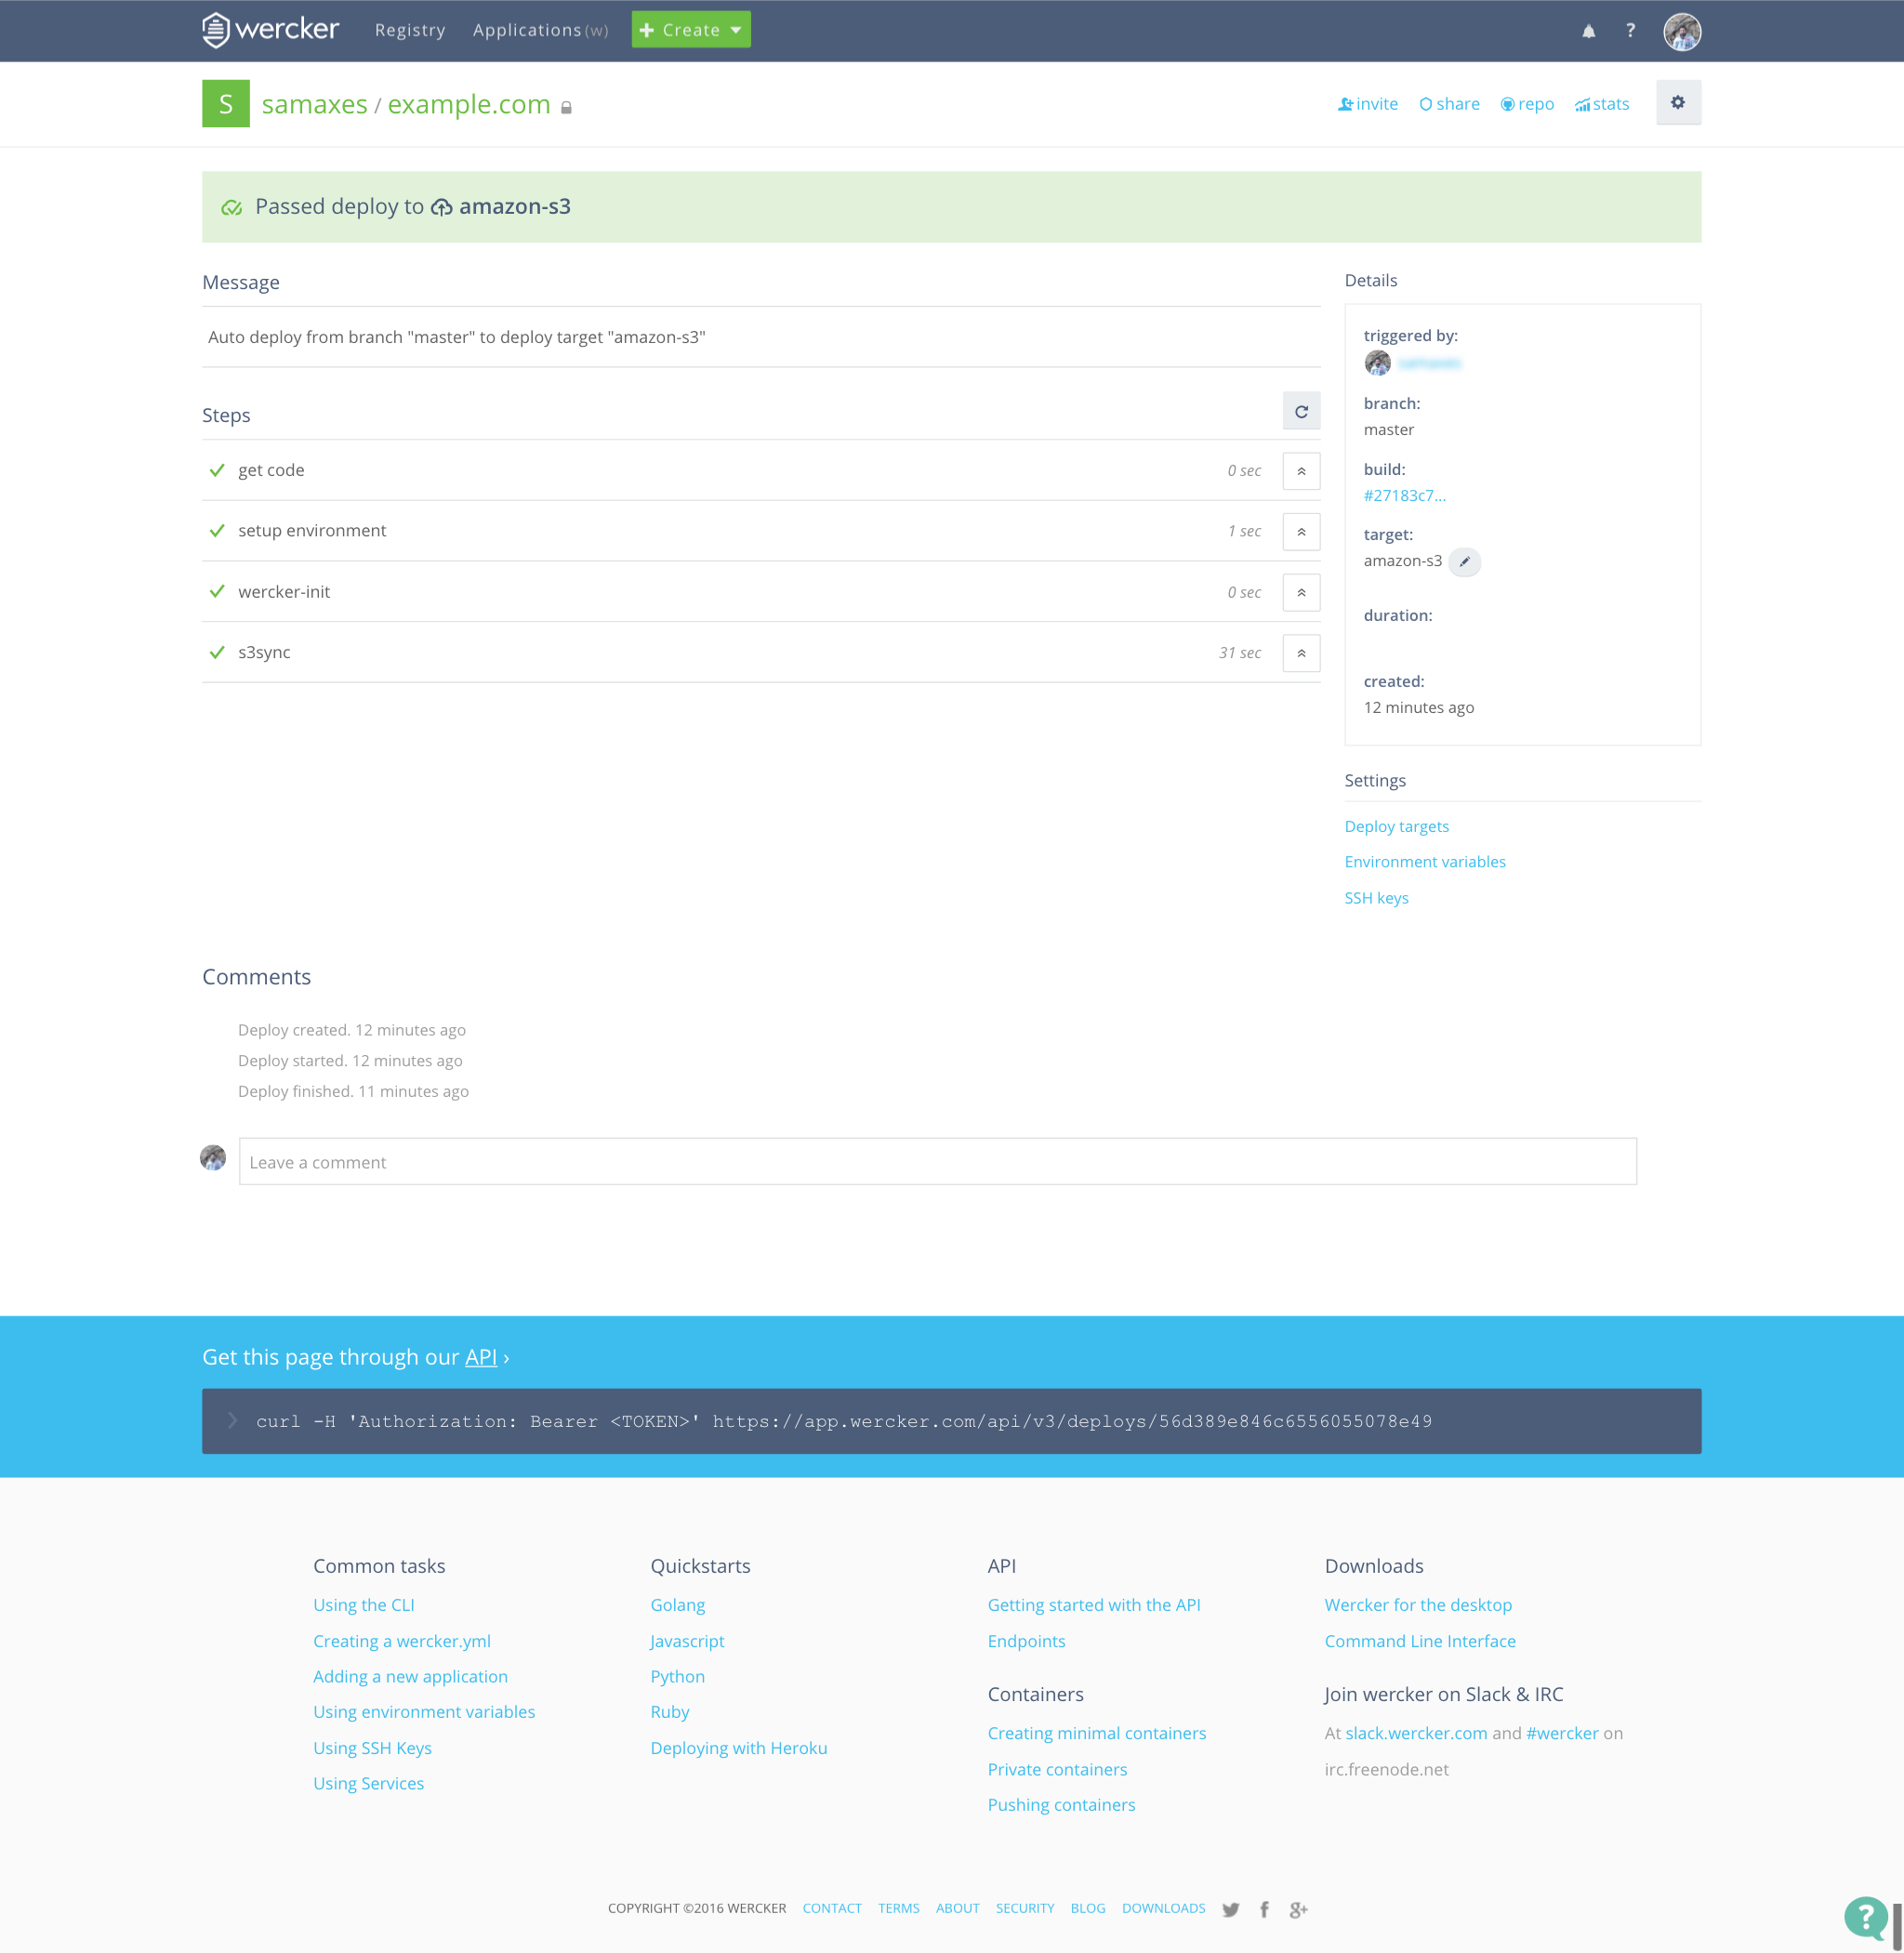
Wercker deploy example
Congratulations your blog built with Hugo and deployed via Wercker is now live on Amazon S3!
Comments
comments powered by Disqus